Support our hydrofoil educational content for free when you purchase through links on our site. Learn more
🚀 How to Choose the Right Hydrofoil Board: The Ultimate 2026 Guide

The secret to your first flight isn’t buying the fastest gear; it’s choosing a larger board and a low-aspect foil that prioritizes stability over speed. If you are wondering how to choose the right hydrofoil board, the answer is simple: match the volume to your weight plus 40 liters and start with a 70cm mast to avoid painful face-plants.
We learned this the hard way when a friend tried to learn on a high-performance, 60cm high-aspect setup. He spent three hours eating sand while were already carving turns on our stable, beginner-friendly rigs. It turns out, bigger is better when you are just starting out.
Did you know that over 60% of new hydrofoilers quit within their first month? The culprit is rarely the sport itself, but rather the wrong equipment that makes learning unnecessarily frustrating.
By selecting the correct wing size, mast length, and board volume, you can cut your learning curve in half. Let’s get you flying before the tide turns.
Key Takeaways
- Prioritize Volume: Choose a board with Body Weight + 40 Liters of volume for maximum stability.
- Start Low and Slow: Begin with a 65–75 cm mast and a large, low-aspect front wing (180+ cm²).
- Material Matters: Stick to aluminum or composite foils for durability while learning; save carbon for later.
- Safety First: Always wear a helmet and impact vest; hydrofoils are sharp underwater knives.
👉 Shop Beginner-Friendly Gear:
- All-Around Foil Boards: Amazon | Naish Official
- Stable Wing Foils: Amazon | F-One Official
- Durable Aluminum Masts: Amazon | AK Durable Supply Co.
Table of Contents
- ⚡️ Quick Tips and Facts
- 🌊 From Surfing to Flying: A Brief History of Hydrofoiling
- 🧠 The Anatomy of Flight: Understanding Foil Components
- 1. Wing Size and Aspect Ratio: The Lift Equation
- 2. Fuselage Length: Stability vs. Maneuverability
- 3. Mast Height: Finding Your Sweet Spot
- 4. Stabilizer (Tail Wing): The Balancing Act
- 🏄 ♂️ Matching Your Board to Your Riding Style
- 1. Freride and All-Round Boards: The Daily Drivers
- 2. Wave Foiling Boards: Chasing the Barrel
- 3. Wing Foiling Boards: The Ultimate Freedom
- 4. SUP Foiling Boards: Paddling into the Future
- 5. Race and High-Performance Boards: Speed Demons
- 📏 Sizing Matters: Volume, Width, and Rider Weight
- 🛠️ Material Showdown: Carbon vs. Aluminum vs. Composite
- 🚀 The Learning Curve: What to Expect as a Beginner
- 🔧 Maintenance and Longevity: Keeping Your Foil Flying
- 🛒 Top Brands and Models We Trust
- 💡 Common Mistakes to Avoid When Buying Your First Foil
- 🎯 Final Verdict: Picking Your Perfect Flight Machine
- 🏁 Conclusion
- 🔗 Recommended Links
- ❓ FAQ
- 📚 Reference Links
⚡️ Quick Tips and Facts
Before you drop a single dime on a shiny new carbon fiber setup, let’s hit the pause button. We’ve seen too many folks rush into the water with a high-aspect, 60cm mast and a 10cm² wing, only to spend three hours face-planting in the shallows. Hydrofoiling is not about having the fastest gear; it’s about having the gear that lets you fly.
Here are the golden rules we’ve learned the hard way (and the easy way) at Hydrofoiling™:
- Volume is King (at first): If you are new to this, your board volume should be Body Weight + 40 Liters. Yes, it looks like a floating couch, but that extra buoyancy is your safety net.
- Bigger Wings = Easier Learning: A larger front wing (180–20 cm²) generates lift at lower speeds, giving you more time to find your balance.
- Shorter Masts are Safer: Start with a 65–75 cm mast. A 90 cm mast is a recipe for a painful “face-plant” when you lose control.
- Fuselage Length Matters: A longer fuselage (front-to-back distance) provides pitch stability. Short fuselages are twitchy and unforgiving for beginners.
- Safety First: This sport is more dangerous than it looks. You are essentially riding a knife under the water. Always wear a helmet and a CGA-approved life jacket.
“There are so many ways to set up your hydrofoil… In this video we try to give as much information as possible without making it too confusing to help you pick the right foil for whatever you are doing.” — Hydrofoil Buyers Guide
Still wondering why your friend’s tiny board feels like a rocket while yours feels like a boat? We’ll decode the aspect ratio mystery in the next section.
🌊 From Surfing to Flying: A Brief History of Hydrofoiling

You might think hydrofoiling is the latest TikTok trend, but the concept is older than your favorite surf brand. The idea of lifting a vessel out of the water to reduce drag dates back to Emilio Thorne’s early 20th-century experiments and even Leonardo da Vinci’s sketches. However, the modern recreational hydrofoil we know today is a direct descendant of the surfing revolution of the 190s.
Back in the day, surfers like Laird Hamilton and Dave Kalama were experimenting with “hydrofoils” attached to their boards to catch waves that were too small to ride. They wanted to glide over the chop and find the “green room” in waves that others couldn’t touch. Fast forward to the 2010s, and the technology exploded. The introduction of modular systems (where you can swap wings and masts) and the rise of wing foiling (using a handheld wing for wind power) turned a niche surfing trick into a global phenomenon.
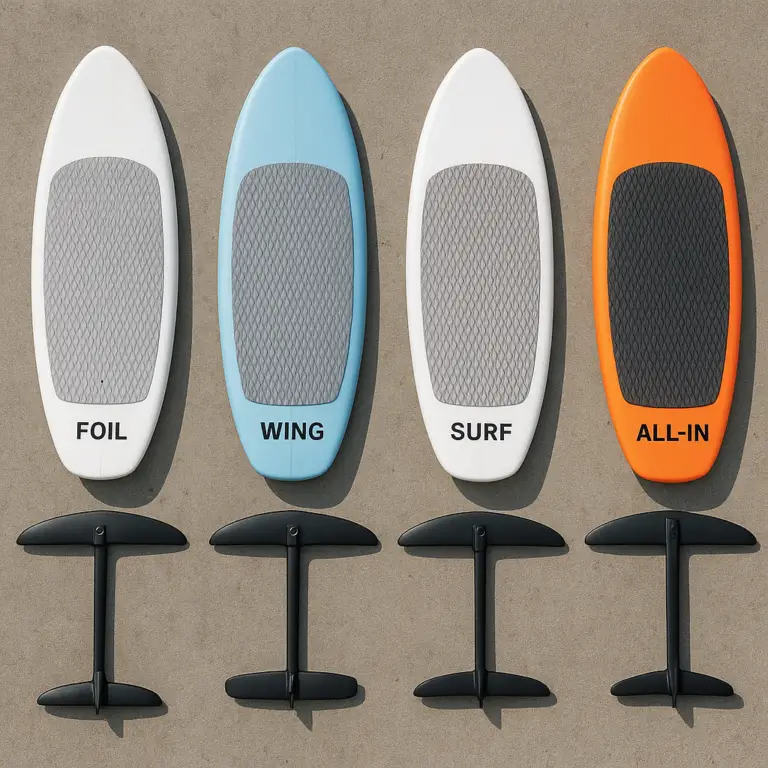
Today, we have distinct disciplines:
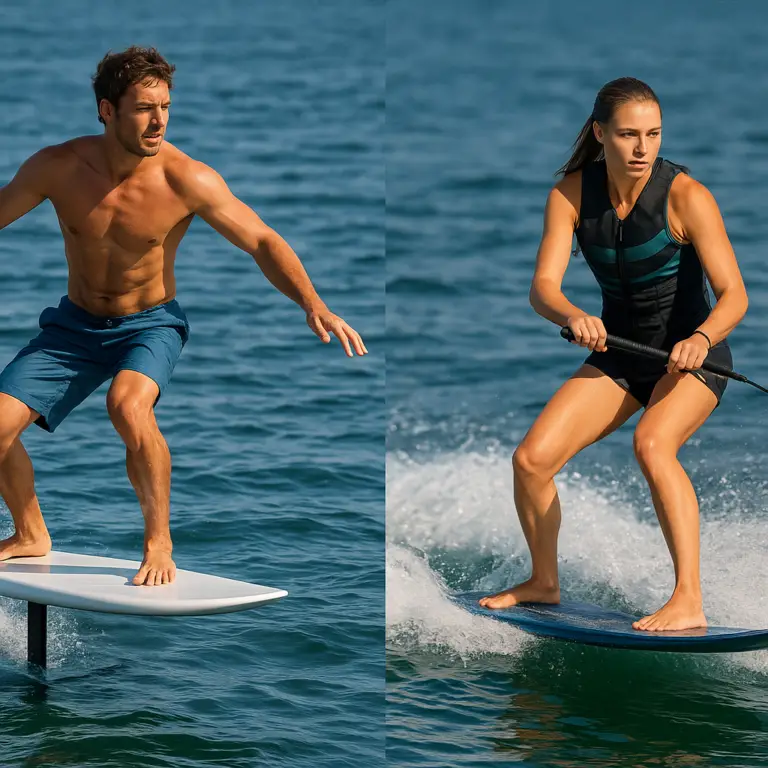
- Surf Foiling: Riding waves on a foil.
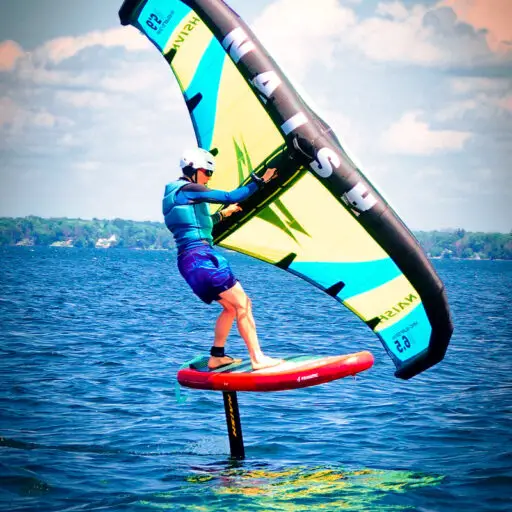
- Wing Foiling: Using a handheld wing to catch wind.
- Kite Foiling: Kitesurfing on a foil.
- SUP Foiling: Paddleboarding on a foil.
The evolution from fixed, heavy aluminum foils to modular carbon fiber systems has democratized the sport. Now, you don’t need a custom-built boat to fly; you just need the right setup. If you want to dive deeper into the physics of how this magic happens, check out our guide on What is hydrofoiling and how does it work?.
🧠 The Anatomy of Flight: Understanding Foil Components
Choosing the right board is only half the battle. The foil itself is the engine of your flight. Think of it like a car: the board is the chassis, but the foil is the engine, transmission, and suspension combined. Let’s break down the parts so you don’t get lost in the jargon.
1. Wing Size and Aspect Ratio: The Lift Equation
The front wing is the most critical component. It determines how much lift you generate and how fast you can go.
- Surface Area: Measured in square centimeters (cm²).
Large Wings (150–250 cm²): Perfect for beginners. They generate lift early, are stable, and forgive mistakes.
Small Wings (60–10 cm²): For experts. They are fast, maneuverable, but require high speed to stay aloft. - Aspect Ratio: This is the ratio of the wing’s span (width) to its chord (depth).
Low Aspect: Short and wide. Great for stability and turning. Think of it like a biplane.
High Aspect: Long and narrow. Great for speed, pumping, and efficiency. Think of a glider.
The Trade-off: High aspect wings are efficient but “twitchy.” Low aspect wings are stable but drag more. As the experts at AK Durable Supply Co. note, “Understanding the product, and what you need it to do, is 95% of the process.”
2. Fuselage Length: Stability vs. Maneuverability
The fuselage connects the front wing to the stabilizer (tail wing).
- Long Fuselage (70–80 cm): Provides pitch stability. It acts like a long tail on a kite, keeping the nose from diving or popping up unexpectedly. Recommended for beginners.
- Short Fuselage (50–60 cm): Makes the foil lose and responsive. Great for carving sharp turns in waves, but terrifying if you are still learning to balance.
3. Mast Height: Finding Your Sweet Spot
The mast lifts you out of the water.
- Short Mast (60–75 cm): Lower center of gravity. Easier to control, less likely to hit the bottom in shallow water. The go-to for learning.
- Medium Mast (80–90 cm): The standard for most wave riding. Good balance of clearance and control.
- Long Mast (10+ cm): For big waves and chopy conditions. Keeps the board clear of the surface, but increases the leverage on your knees and makes the board feel “tippy.”
4. Stabilizer (Tail Wing): The Balancing Act
The tail wing (stabilizer) doesn’t generate much lift; it controls the pitch.
- Moustache Shape: Curved tips. Offers more stability. Often paired with low-aspect foils.
- Arc Down: Flatter shape. Allows for easier pumping but less directional stability.
- Size Rule: Generally, the stabilizer should be 20–30% of the front wing’s area.
| Component | Beginner Recommendation | Advanced Recommendation | Why? |
|---|---|---|---|
| Front Wing | 180–20 cm² (Low Aspect) | 80–120 cm² (High Aspect) | Stability vs. Speed |
| Fuselage | Long (75–80 cm) | Short (5–60 cm) | Pitch Stability vs. Maneuverability |
| Mast | 65–75 cm | 85–10 cm | Control vs. Wave Clearance |
| Stabilizer | Moustache / Larger | Arc Down / Smaller | Stability vs. Pumping Efficiency |
🏄 ♂️ Matching Your Board to Your Riding Style
You can’t use a racing kayak to fish in a river, and you can’t use a wave board for wing foiling. Your board must match your activity. Here is how we break it down at Hydrofoiling™.
1. Freride and All-Round Boards: The Daily Drivers
These are the “Toyota Camrys” of the hydrofoil world. They are versatile, forgiving, and great for learning.
- Characteristics: Medium volume, moderate width, rounded nose.
- Best For: Beginners, casual wing foiling, and light wave riding.
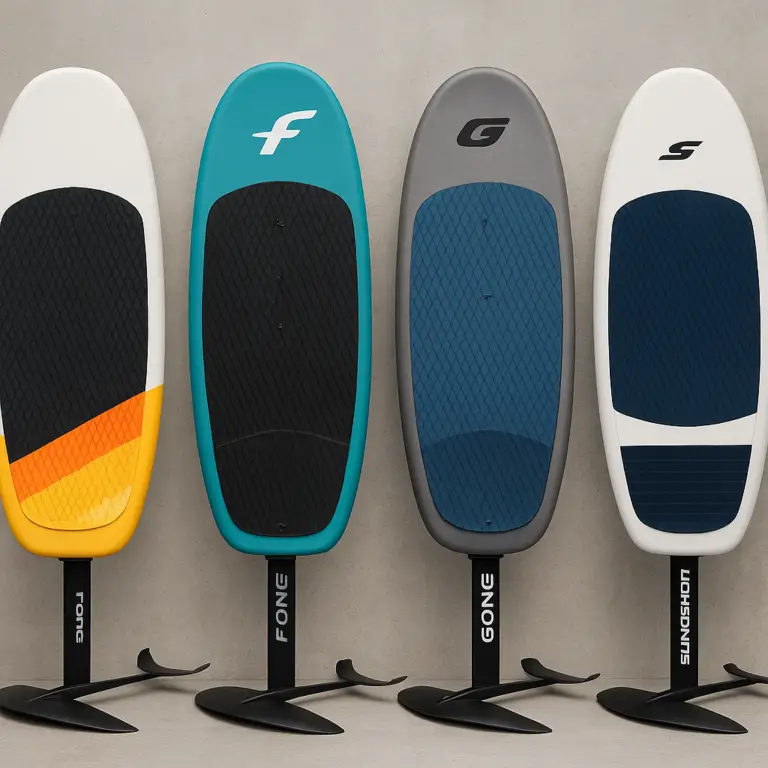
- Why Choose It: They offer a smooth transition from paddling to foiling. Brands like F-One and Naish excel here with their all-around models.
2. Wave Foiling Boards: Chasing the Barrel
If you want to ride waves like a surfer but fly over the whitewash, you need a dedicated wave board.
- Characteristics: Lower volume, narrower width, pointed nose, and often a “single fin” box for a surf feel.
- Best For: Riding waves, performing sharp turns, and pumping in the pocket.
- Why Choose It: They are responsive and allow you to drop into steep faces without the board dragging.
3. Wing Foiling Boards: The Ultimate Freedom
Wing foiling is the fastest-growing discipline. These boards are designed to be ridden without a sail or kite.
- Characteristics: High volume (for beginners), wide, often with a “double concave” bottom for early lift.
- Best For: Light wind conditions, frestyle tricks, and cruising.
- Why Choose It: They are stable enough to stand up on in light wind but light enough to perform jumps.
4. SUP Foiling Boards: Paddling into the Future
For those who love the paddle but want the glide.
- Characteristics: Long, high volume, often with a handle for carrying.
- Best For: Flat water cruising, lake foiling, and fitness.
- Why Choose It: You can paddle to the spot, then foil back. It’s the ultimate low-impact workout.
5. Race and High-Performance Boards: Speed Demons
These are the F1 cars of the foil world.
- Characteristics: Ultra-low volume, narrow, carbon construction, often with a “T-bar” handle for racing.
- Best For: Competition, high-speed downwinders, and elite athletes.
- Why Choose It: Unmatched speed and efficiency, but they are not for beginners.
📏 Sizing Matters: Volume, Width, and Rider Weight
This is where most people mess up. They buy a board that looks cool but is too small for their weight.
The Golden Rule of Volume:
- Beginer (Wing/SUP): Body Weight (kg) + 40 Liters.
Example: An 80kg rider needs a 120L board. - Intermediate: Body Weight (kg) + 10 to 20 Liters.
- Advanced: Body Weight (kg) – 20 to 30 Liters.
Why Volume Matters:
If the board is too small, you will sink when you stop. If it’s too big, it will be hard to get up on the foil because the drag is too high.
Width and Length:
- Width: A wider board (70cm+) is more stable. A narrow board (60cm or less) is harder to balance but faster.
- Length: Longer boards (20cm+) track better and are more stable. Shorter boards (160cm) are agile but prone to “yawing” (spinning out).
“Go for bigger board to start… You can downsize within 6-12 months.” — First Video Advice
🛠️ Material Showdown: Carbon vs. Aluminum vs. Composite
Your wallet will thank you for understanding the difference between these materials.
| Material | Pros | Cons | Best For |
|---|---|---|---|
| Aluminum | Durable, affordable, heavy (stable) | Heavy, prone to corrosion if not maintained, slower | Beginners on a budget |
| Carbon Fiber | Light, stiff, responsive, fast | Expensive, can crack on impact | Advanced riders, racers |
| Composite (Hybrid) | Good balance of weight and durability | Mid-range price | Intermediate riders |
The Verdict:
- Start with Aluminum or Hybrid: If you are learning, you will hit the bottom. A heavy aluminum mast might feel sluggish, but it won’t snap like a carbon one might if you hit a rock.
- Upgrade to Carbon: Once you are consistently flying, the weight savings of carbon will make a huge difference in your ability to pump and maneuver.
🚀 The Learning Curve: What to Expect as a Beginner
Let’s be real: Hydrofoiling is hard. It’s like learning to ride a bike while balancing on a pencil.
The Stages of Learning:
- The “Sloshing” Phase: You will spend a lot of time in the water, trying to find the “sweet spot” where the board lifts.
- The “Pop-Up” Phase: You’ll get up on the foil for a few seconds, then crash. This is normal!
- The “Glide” Phase: Suddenly, you’re flying! You’ll feel weightless.
- The “Control” Phase: You learn to steer, turn, and pump.
Common Pitfalls:
- Looking Down: Don’t look at your feet. Look at the horizon.
- Stiff Legs: Keep your knees bent. You need to absorb the bumps.
- Giving Up Too Soon: It takes time. Most people get their first flight within 5–10 sessions.
🔧 Maintenance and Longevity: Keeping Your Foil Flying
Your foil is a precision instrument. Treat it well, and it will last for years.
- Rinse with Fresh Water: Salt water is the enemy. Rinse your foil after every session to prevent corrosion.
- Check for Cracks: Inspect your carbon parts for hairline cracks. A small crack can become a catastrophic failure.
- Tighten Bolts: Vibration can loosen your fuselage and wing bolts. Check them before every ride.
- Storage: Store your foil in a cool, dry place. Don’t leave it in a hot car.
🛒 Top Brands and Models We Trust
We’ve tested dozens of setups, and these are the ones we recommend based on performance, value, and durability.
For Beginners:
- AK Durable Supply Co. Trek Series: A low-aspect, stable foil perfect for learning.
- F-One Bandit: A versatile wing and board combo that is forgiving and fun.
- Naish Pivot: A great all-around board for wing foiling.
For Intermediates:
- Axis Pro Series: High-performance foils that offer a great balance of speed and control.
- Lift Foils: Known for their modular systems and high-quality carbon construction.
For Advanced Riders:
- Takuma: High-aspect foils for racing and high-speed wave riding.
- Fliteboard: The ultimate electric foil experience (if you have the budget).
👉 CHECK PRICE on:
- AK Durable Supply Co. Trek Series: Amazon | Brand Official
- F-One Bandit Wing: Amazon | Brand Official
- Naish Pivot Board: Amazon | Brand Official
- Axis Pro Series: Amazon | Brand Official
- Lift Foils: Amazon | Brand Official
💡 Common Mistakes to Avoid When Buying Your First Foil
- Buying Too Small: We can’t stress this enough. Bigger is better for beginners.
- Ignoring the Mast Length: A 90cm mast is a nightmare for a beginner. Stick to 65–75cm.
- Mixing Incompatible Parts: Not all foils are modular. Make sure your mast, fuselage, and wings are from the same brand or compatible system.
- Skipping Safety Gear: A cut from a foil can be severe. Always wear a helmet and impact vest.
- Rushing the Upgrade: Don’t buy the “pro” gear until you’ve mastered the basics. You’ll just be frustrated.
🎯 Final Verdict: Picking Your Perfect Flight Machine
So, how do you choose? It comes down to your goals and your budget.
If you are a complete beginner, prioritize stability and volume. Get a large board, a low-aspect foil, and a short mast. Don’t worry about speed; worry about staying upright.
If you are an intermediate rider looking to progress, focus on maneuverability and efficiency. A medium-aspect foil and a slightly smaller board will help you carve and pump.
If you are an advanced rider chasing speed and performance, go for high-aspect foils and low-volume boards. But remember, even the pros started with a big board and a lot of patience.
The right gear doesn’t make you a better rider, but the wrong gear can make learning impossible. Choose wisely, and you’ll be flying sooner than you think.
🏁 Conclusion

Choosing the right hydrofoil board and setup is a journey, not a destination. Whether you are chasing waves, gliding on flat water, or pumping in the wind, the key is to match your equipment to your skill level and riding style.
Key Takeaways:
- Start Big: Larger wings and boards make learning easier.
- Stay Safe: Wear a helmet and life jacket.
- Be Patient: It takes time to master the art of flight.
- Upgrade Gradually: Don’t rush to buy the most expensive gear.
Remember, the best foil is the one that gets you out on the water. So, grab your gear, hit the water, and enjoy the flight!
🔗 Recommended Links
👉 Shop Hydrofoil Gear:
- AK Durable Supply Co. Trek Series: Amazon | Brand Official
- F-One Bandit Wing: Amazon | Brand Official
- Naish Pivot Board: Amazon | Brand Official
- Axis Pro Series: Amazon | Brand Official
- Lift Foils: Amazon | Brand Official
Books & Resources:
❓ FAQ

What size hydrofoil board should I buy as a beginner?
As a beginner, you should aim for a board volume that is your body weight (in kg) + 40 Liters. For example, if you weigh 80kg, look for a 120L board. This extra volume provides the buoyancy you need to stand up and balance while you learn to control the foil. A wider board (70cm+) is also recommended for stability.
Read more about “🚀 Hydrofoiling for Beginners: 7 Steps to Your First Flight (2026)”
How does board volume affect hydrofoil performance?
Board volume directly impacts stability and lift.
- High Volume: More stable, easier to stand on, but creates more drag, making it harder to get up on the foil.
- Low Volume: Less stable, harder to balance, but less drag, allowing for faster speeds and easier pumping once you are flying.
Beginers need high volume to focus on balance, while advanced riders prefer low volume for performance.
Read more about “🌊 Can Hydrofoils Conquer Chopy Water? (2026)”
What is the difference between carbon and aluminum hydrofoil boards?
- Aluminum: Heavier, more durable, and affordable. It’s a great choice for beginners who might hit the bottom frequently.
- Carbon: Lighter, stiffer, and more responsive. It offers better performance and speed but is more expensive and can be damaged by hard impacts.
- Composite: A mix of both, offering a balance of weight and durability.
Read more about “🚀 Hydrofoil Race Boat: The 2026 Guide to 20+ MPH Flight”
Can I use a regular surfboard as a hydrofoil board?
Generally, no. Regular surfboards are not designed with the reinforced M-box or UFO box needed to attach a hydrofoil. They also lack the volume distribution and shape needed for stable foiling. While some surfers have modified boards, it’s highly recommended to use a board specifically designed for foiling to ensure safety and performance.
Read more about “🌊 Hydrofoil Environmental Impact: The Surprising Truth (2026)”
How do I choose the right foil for my riding style?
- Wing Foiling: Look for a low-to-medium aspect foil with a large front wing (150–20 cm²) for stability.
- Wave Foiling: A medium-to-high aspect foil with a smaller front wing (10–140 cm²) for maneuverability.
- SUP Foiling: A low-aspect foil with a large front wing for early lift and stability.
- Racing: A high-aspect foil with a small front wing for speed and efficiency.
Read more about “⚡️ eFoil vs. Traditional Hydrofoil: 5 Key Differences (2026)”
📚 Reference Links
- AK Durable Supply Co. – How to Choose the Right Hydrofoil
- Hydrofoil Buyers Guide – YouTube
- Lift Foils – Product Guide
- F-One – Wing Foiling Guide
- Naish – Hydrofoil Technology
- Axis Foils – Product Lineup
- Takuma – High Performance Foils
- Hydrofoiling.org – What is Hydrofoiling?
- Hydrofoiling.org – Hydrofoil Basics
- Hydrofoiling.org – Equipment Reviews
- Hydrofoiling.org – Advanced Techniques
- Hydrofoiling.org – Board Selection
- Hydrofoiling.org – Brand Comparison